There’s something magical about the combination of cherry pie filling and crescent rolls. It’s a match made in dessert heaven, offering a delightful blend of tart, sweet, and buttery flavors.
In this guide, we’ll explore the art of making homemade cherry pie filling. We’ll delve into the process, revealing how simple it can be to create this classic dessert component from scratch.
But we won’t stop there,we’ll also discover the versatility of crescent rolls in dessert recipes. These flaky, golden pastries are a convenient and delicious base for a variety of sweet treats.
So, whether you’re a seasoned baker or a novice in the kitchen, get ready to embark on a culinary adventure. Let’s dive into the world of cherry pie filling and crescent rolls.
The Joy of Homemade Cherry Pie Filling
Creating your own cherry pie filling at home is a rewarding experience. The flavor is unmatched by canned versions, and you can adjust sweetness and tang to your liking.
Ingredients Needed
To make homemade cherry pie filling, gather the following ingredients:
- 4 cups of fresh or frozen cherries (pitted)
- 1 cup of granulated sugar
- 2 tablespoons of cornstarch
- 1 tablespoon of lemon juice
- Optional: 1/2 teaspoon of almond extract (for added flavor)
Step-by-Step Instructions for Cherry Pie Filling
- Prepare the Cherries: Start by pitting the cherries if you’re using fresh ones. A cherry pitter can save you a lot of time and effort.
- Combine Ingredients: In a saucepan, combine the pitted cherries, sugar, and lemon juice.
- Cook the Mixture: Cook over medium heat, stirring until the sugar dissolves.
- Thicken the Filling: Slowly add cornstarch to the mixture, whisking continuously to prevent lumps. Watch the filling thicken as it cooks.
- Achieve the Perfect Texture: Adjust the amount of cornstarch based on your preferred thickness.
- Allow to Cool: Once the filling is thick and glossy, remove it from the heat. Let it cool to room temperature before using it in your desserts. This step is crucial as it helps the filling to set and become more manageable.
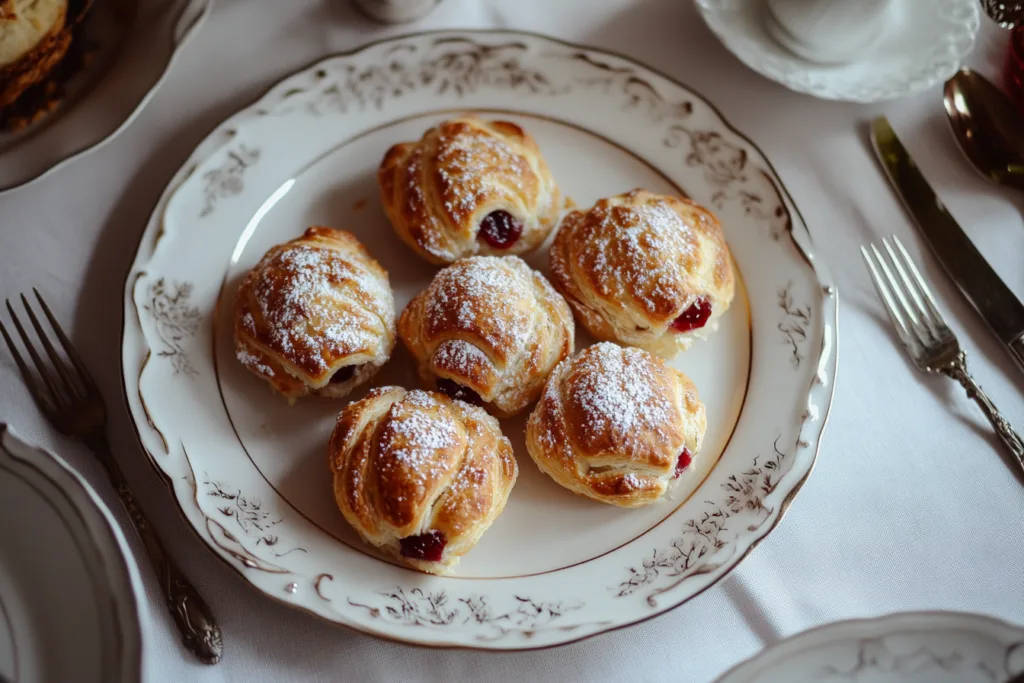
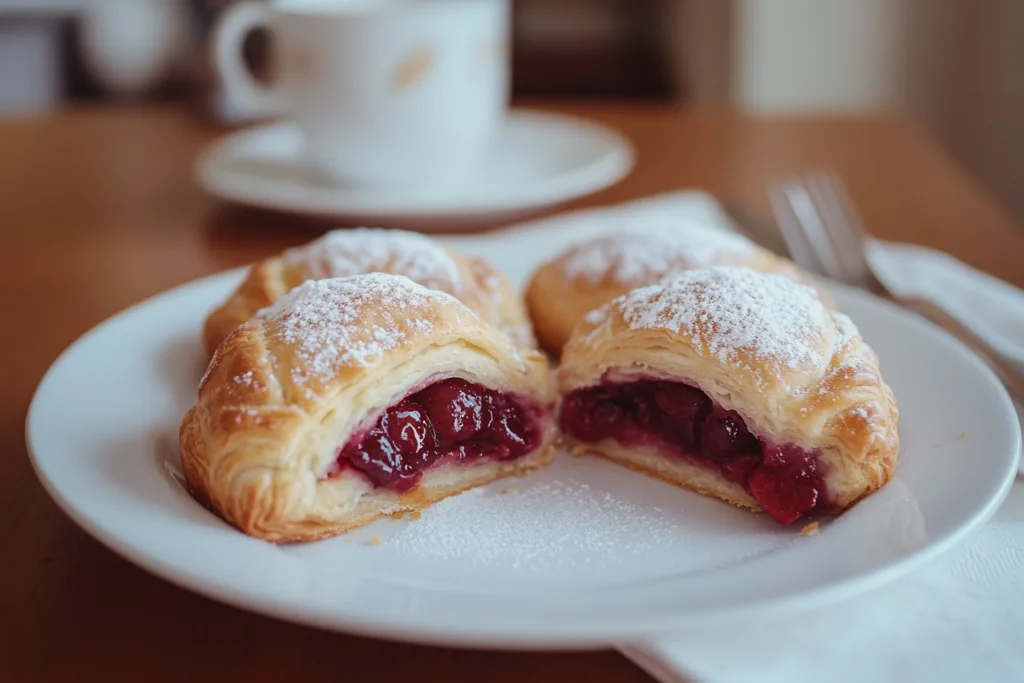
Easy Cherry Pie Bites Using Crescent Rolls
Cherry pie bites are a delightful, bite-sized treat perfect for any occasion. With crescent rolls, they become incredibly easy to make. Here’s everything you’ll need to get started. For breakfast inspiration with crescent rolls, don’t miss our guide on How to Make Breakfast Pizza with Crescent Rolls.
Ingredients and Tools Needed
To make these delicious cherry pie bites, gather a few essential ingredients and tools:
- 1 package of crescent roll dough
- 1 can of cherry pie filling
- Optional: powdered sugar (for dusting) or icing (for drizzling)
Basic kitchen tools
- Baking sheet
- Parchment paper
- Sharp knife
- Pastry brush (optional, for egg wash)
Step-by-Step Instructions for Cherry Pie Bites
- Preheat your oven to 375°F (190°C). Line your baking sheet with parchment paper to prevent sticking.
- Unroll your crescent roll dough and separate it into triangles.
- Place a small spoonful of cherry pie filling onto each triangle. Carefully fold the edges over, sealing the filling inside.
- Use a fork to crimp the edges, ensuring they remain closed during baking.
- Arrange the filled crescents on the baking sheet, leaving space between each. Optionally, brush with egg wash for added shine.
- Bake for 10-12 minutes, or until golden brown and puffed.
Variations and Serving Suggestions
Once your cherry pie bites have cooled, consider experimenting with variations. Add a sprinkle of cinnamon to the filling for extra warmth or almond extract for depth. A simple powdered sugar glaze can enhance sweetness.
Serve warm bites with a side of vanilla ice cream or whipped cream for a classic pairing. For a festive touch, drizzle with melted chocolate or top with sliced almonds. These charming bites are sure to impress, no matter how you choose to present them.
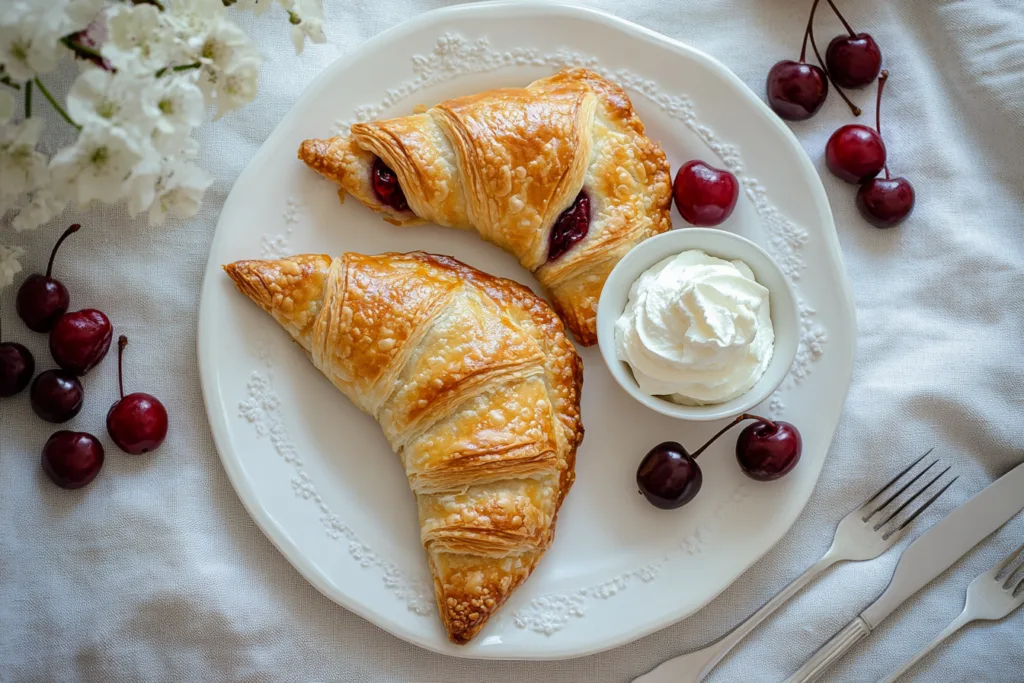
Cherry Turnovers Using Crescent Rolls: A Simple Delight
Cherry turnovers are a classic dessert that never fail to delight. With crescent rolls, making them becomes a straightforward process. Let’s dive into how you can create these tempting treats.
Ingredients and Tools Needed
To make these delicious cherry turnovers, gather the following ingredients and tools:
- Cherry pie filling (homemade or canned)
- 1 package of crescent roll dough
- Optional: 1 beaten egg (for egg wash)
Basic kitchen tools
- Baking sheet
- Parchment paper
- Sharp knife
- Fork (for sealing edges)
Step-by-Step Instructions for Cherry Turnovers
- Preheat your oven to 375°F (190°C) and line your baking sheet with parchment paper to prevent sticking.
- Unroll the crescent roll dough, keeping the triangles intact on a floured surface to prevent sticking.
- Place a spoonful of cherry pie filling on one half of each crescent triangle.
- Fold the dough over to cover the filling completely.
- Carefully seal the edges by pressing them together with a fork or your fingers, ensuring there are no gaps.
- Arrange your assembled turnovers on the lined baking sheet. Brush with a lightly beaten egg for a golden finish.
- Bake in the preheated oven for about 12-15 minutes or until golden brown.
- Once baked, allow the turnovers to cool slightly before serving.
These delightful cherry turnovers can be served as is or with a scoop of ice cream. The crispy, golden crust paired with the tangy cherry filling is a dessert that everyone will love.
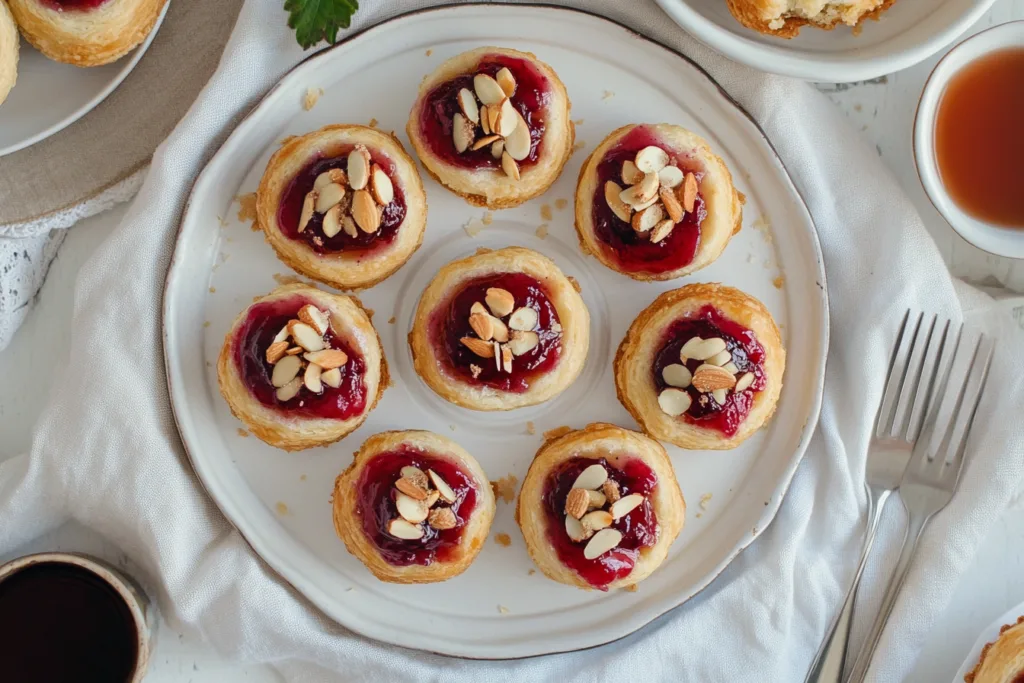
Mini Cherry Pie Bites: Fun Size Treats
Mini cherry pie bites are delightful snacks that pack all the flavor of a cherry pie into a bite-sized treat. Using crescent rolls and a muffin pan, you can easily create these adorable desserts perfect for parties or a quick sweet treat.
Ingredients and Tools Needed
To make these fun-sized cherry pie bites, gather the following ingredients and tools:
- 1 package of crescent roll dough
- 1 can of cherry pie filling
- Optional: sugar (for sprinkling), cinnamon or nutmeg (for flavor), cream cheese or slivered almonds (for toppings)
Basic kitchen tools
- Muffin pan
- Baking sheet
- Parchment paper
- Sharp knife
Step-by-Step Instructions for Mini Cherry Pie Bites
- Preheat your oven to 375°F (190°C).
- Grab a muffin pan to begin creating these mini delights. Unroll your crescent roll dough and separate it into squares or rectangles instead of triangles.
- Press each dough piece gently into the cup of the muffin pan, creating a base for your mini pies.
- Fill each dough-lined cup with a generous spoonful of cherry pie filling. Ensure not to overfill, as it may cause overflow during baking.
- Use your fingers to fold the dough edges over some of the filling, leaving the center exposed.
- Optional: Sprinkle sugar, cinnamon, or nutmeg on top for extra flavor and sweetness. Consider adding a dollop of cream cheese or a sprinkle of slivered almonds before baking for additional contrast.
- Bake your mini pie bites in the preheated oven for approximately 10-12 minutes, or until the dough is golden brown and the filling is bubbly.
- Once baked, allow the mini cherry pie bites to cool slightly before serving.
These mini cherry pie bites are best served warm and are sure to be a hit at any gathering! Enjoy your delightful creation!
Cherry Pie Bombs with Crescent Roll Dough
Cherry pie bombs are an explosive burst of flavor wrapped in golden crescent roll dough. These delightful treats bring together the tartness of cherries with the buttery goodness of crescent rolls. It’s a quick and satisfying dessert option.
Ingredients and Tools Needed
To make these delicious cherry pie bombs, gather the following ingredients and tools:
- Pre-made crescent roll dough
- Cherry pie filling (homemade or canned)
- Optional: powdered sugar (for dusting)
Basic kitchen tools
- Baking sheet
- Parchment paper
- Sharp knife
Step-by-Step Instructions for Cherry Pie Bombs
- Preheat your oven to 375°F (190°C) and line a baking sheet with parchment paper to prevent sticking.
- Unroll the crescent dough and separate it into individual triangles.
- Place a spoonful of cherry pie filling on the wider end of each triangle. Be cautious not to overfill, as too much filling can lead to bursting during baking.
- Carefully fold the corners of the dough over the filling to enclose it completely.
- Pinch the seams together to ensure a tight seal. This step prevents the filling from leaking out as the pastry bakes.
- Arrange the sealed bombs on the lined baking sheet, leaving space between each.
- Bake the cherry pie bombs in the preheated oven for about 12-15 minutes, or until they are golden brown and flaky.
- Watch closely as they bake, aiming for that perfect golden-brown crust.
- Once baked, serve these cherry pie bombs fresh from the oven and enjoy the warm, flaky, and sweet dessert that bursts with flavor in every bite.
These cherry pie bombs are sure to impress and disappear quickly, making them a perfect treat for any occasion!
Storing and Freezing Your Cherry Pie Creations
Proper storage is essential to maintain the freshness of your cherry pie creations. Once cooled, place them in an airtight container. This prevents the pastries from drying out and keeps them tasting fresh.
If you plan to enjoy your cherry desserts later, consider freezing them. Wrap each piece tightly in plastic wrap or aluminum foil before placing them in a freezer-safe bag. Label the bag with the date so you can track their freshness.
To enjoy your frozen cherry delights, simply thaw them in the refrigerator overnight. When ready to serve, you can warm them in the oven at a low temperature for that freshly-baked taste. This method ensures that your cherry pie creations maintain their delicious flavors and textures, providing a convenient treat anytime you crave it.
FAQs
Can I use canned cherry pie filling?
Yes, canned filling is convenient, but homemade offers a richer flavor.
How to prevent crescent rolls from leaking filling?
Seal the edges well and use minimal filling for each roll.
Can I make the desserts ahead of time?
Absolutely! Preparing them in advance ensures you have a ready-to-serve treat.
Can I use frozen cherries directly without thawing?
Yes, you can use frozen cherries directly without thawing. Just add a few extra minutes to the cooking time to allow them to heat through.
How can I make my cherry pie filling less sweet?
To make the filling less sweet, reduce the amount of sugar to your taste. You can also incorporate more tart ingredients, such as lemon juice, to balance the sweetness.
Can I substitute cornstarch with other thickeners?
Yes, you can use alternative thickeners like tapioca starch or flour. If using flour, remember to cook the filling longer to eliminate the raw flour taste.
What can I do if my filling is too runny?
If your filling is too runny, you can continue cooking it over medium heat while whisking in a little more cornstarch mixed with cold water to help thicken it.
How long can I store homemade cherry pie filling?
Homemade cherry pie filling can be stored in an airtight container in the refrigerator for up to one week. For longer storage, consider freezing it, where it can last for several months.
Conclusion: Unleashing Your Inner Baker
Exploring cherry pie filling and crescent rolls opens up a world of delightful possibilities. By combining homemade cherry pie filling with crescent rolls, you’ve crafted amazing desserts. For a creative twist, try making a Taco Pie with Crescent Rolls, a savory option to complement your sweet creations.
Whether you’re making mini cherry pie bites or cherry turnovers, the combination of cherry pie filling and crescent rolls provides a tasty foundation for creating desserts that everyone will love. Don’t hesitate to experiment and share your creations with friends and family!
Ready to take on new challenges in the kitchen? Share your cherry crescent roll creations with friends and family! We’d love to hear your feedback and see your pictures. Join our community of dessert lovers and share your own unique twists on these recipes!